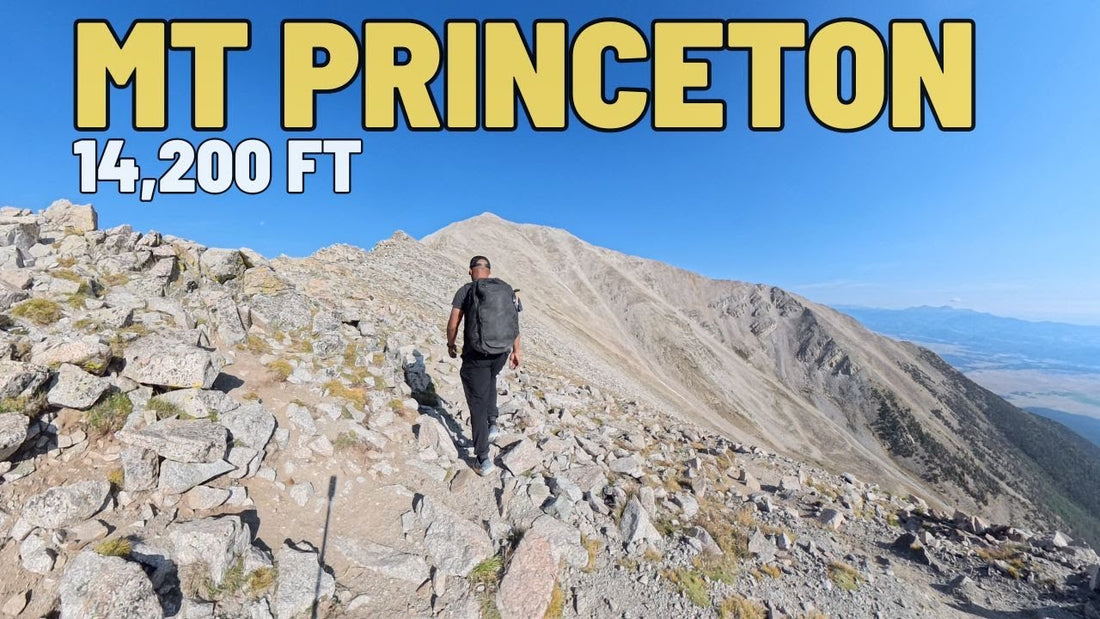
Mt Princeton 14er: How Mt. Princeton Tried to Break Me (Here's What Happened)
Mt Princeton 14er: How Mt. Princeton Tried to Break Me (and What I Learned)

I'm the creator behind More Dirt More Distance, and I want to share the full story of my attempt on mt princeton 14er — number 15 of my goal to summit all 58 Colorado fourteeners. This trip had everything: a narrow shelf road, a last-minute campsite scramble, route-finding challenges in loose scree, a forgotten sleeping bag, and a summit that felt earned. If you're planning to tackle mt princeton 14er yourself, read on for detailed beta, route tips, gear notes, and mistakes you can avoid.
I started at the two-wheel drive parking area. It's a decent-sized lot with a couple of porta-potties — clean enough to earn a joking 3.5/5 on the toilet rating. Practical amenities matter when you're starting a long outing, and being able to use a restroom before heading out is a real comfort.
Table of Contents
- Quick overview: distances, elevation, and options
- Driving in: what to expect on Mount Princeton Road
- Camping options: where I stopped and what worked
- Gear check: the stuff that mattered (and the stuff I forgot)
- Early morning start and the sound of groups on the move
- Trail beta: route, stairs, and the start of the climb
- Route-finding in scree: cairns, confusion, and how to commit
- The ridge and the final push: steep, rocky, and a lung-burner
- Summit moment: worth the grunt
- Mistakes I made (so you don’t have to)
- Tips and tactics for a smoother mt princeton 14er
- Recommended itinerary options
- FAQ
- Final thoughts — why mt princeton 14er is worth it
Quick overview: distances, elevation, and options
For planning purposes, here are the key numbers you need to know for mt princeton 14er:
- Main approach from the two-wheel-drive lot: just over 13 miles round trip and roughly 5,200 feet of elevation gain.
- Dispersed campsite option halfway up: drives the trip down to about 6.5 miles round trip and around 3,200 feet of elevation gain from that campsite.
- Road type: narrow shelf road with ruts and some sections that lower-clearance vehicles should watch. Overall passable for a stock vehicle, but nerves are a factor when the road runs on a shelf with steep drop-offs.
If you're aiming for a day-hike, starting at the two-wheel-drive lot is the standard choice. If you want to make the summit push less brutal, plan to camp at the dispersed sites and start from there the next morning — I recommend this if you want to split the elevation gain over two days for a more enjoyable experience.
Driving in: what to expect on Mount Princeton Road
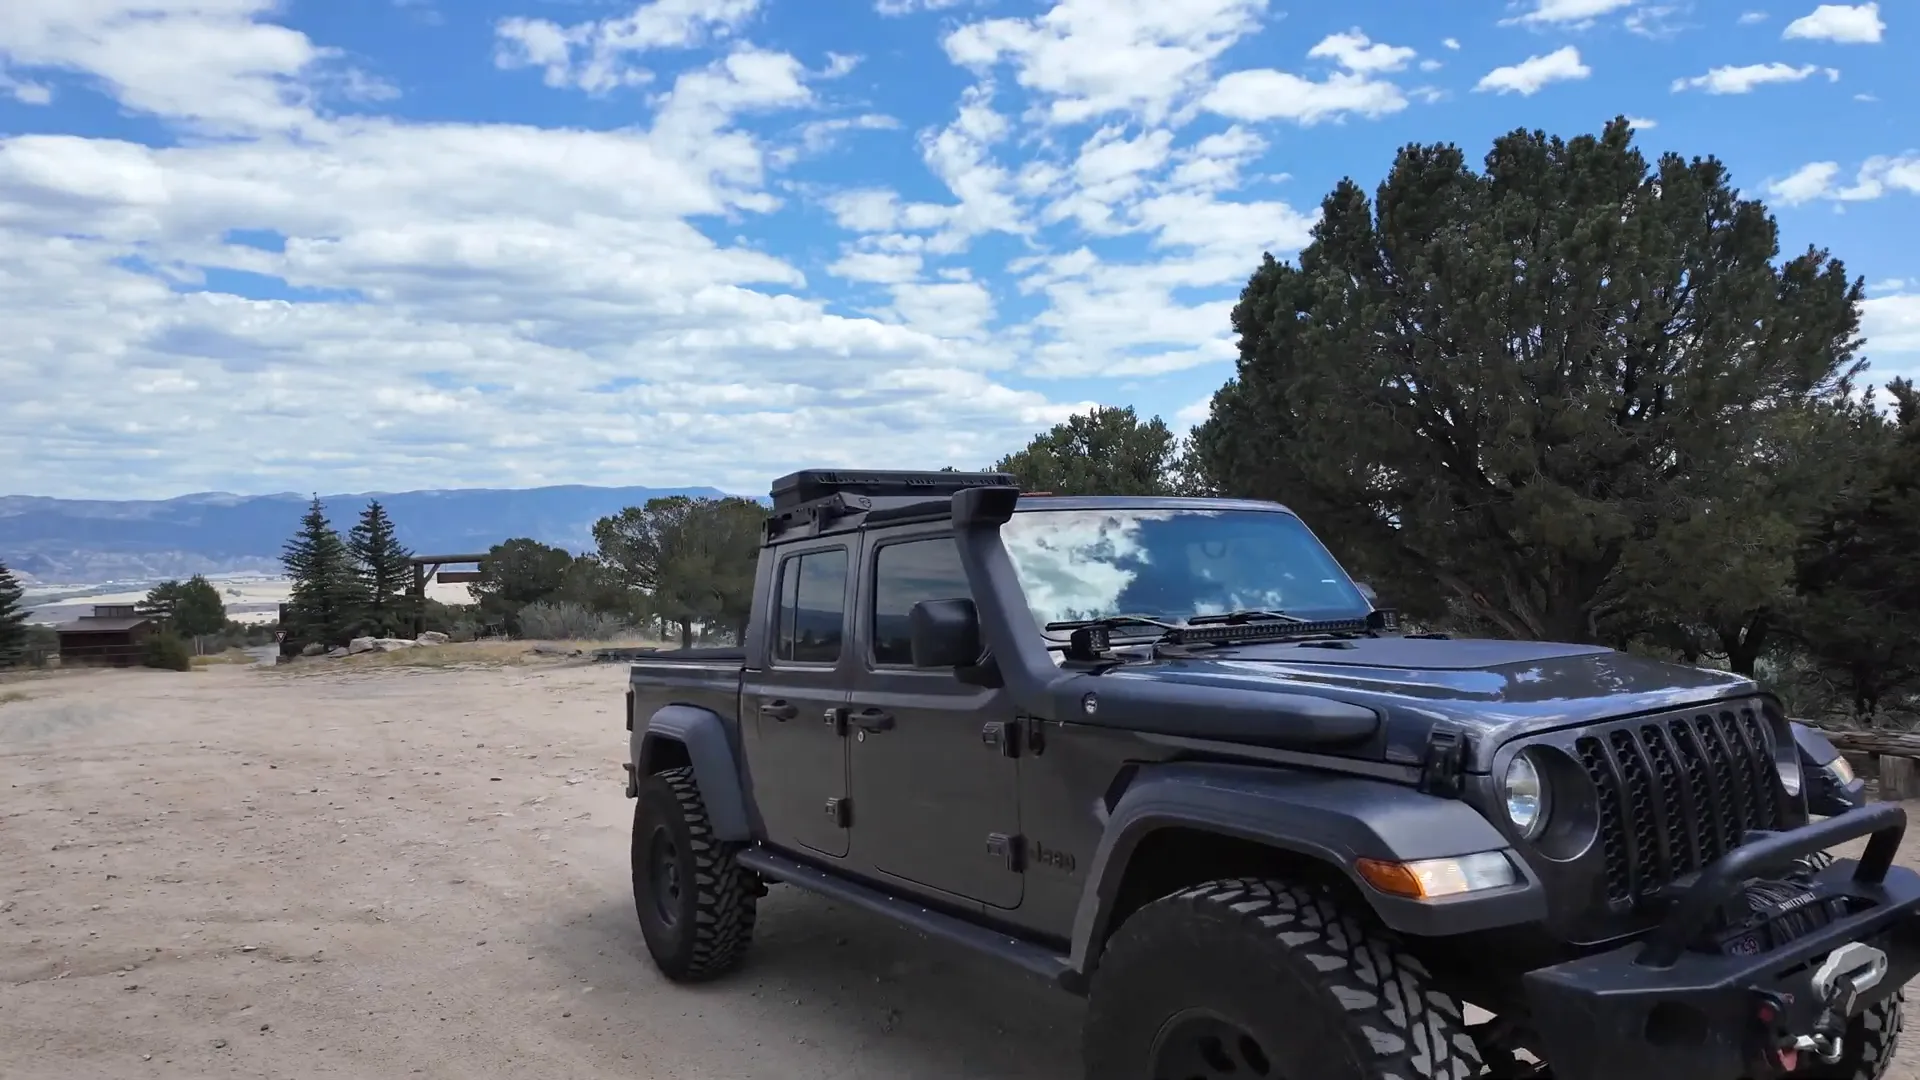
I’ll be blunt: the road up isn’t technically difficult in most places, but it’s narrow, and there are parts where you’re driving on a shelf with steep drop-offs. That creates stress that’s more mental than mechanical. A stock SUV (I saw a Honda CR-V coming down) can make it, but you need to be comfortable with the exposure.
A few practical driving tips:
- Drive slowly and be ready to back up a bit to find a wider passing spot. Meeting another vehicle at a tight spot means one driver will have to maneuver.
- Watch for ruts. There are some water-cut ruts and occasional deeper sections that lower-clearance cars should avoid.
- Respect the road etiquette: if someone signals you to pass or to pull into a pullout, cooperate. I learned this the hard way watching a tense Ouray/Imogene Pass scene — exposure plus many drivers equals a high stress situation fast.
- If you’re not 100% confident with narrow mountain roads, bring a buddy who can help spot and communicate on blind sections.
I met a few folks walking the road — respect to those who hike the drive — and many people had trucks. There are places to park along the way (including at the end of Princeton Road near the communications tower), but remember that some of the upper spots are exposed with no tree cover.
Camping options: where I stopped and what worked
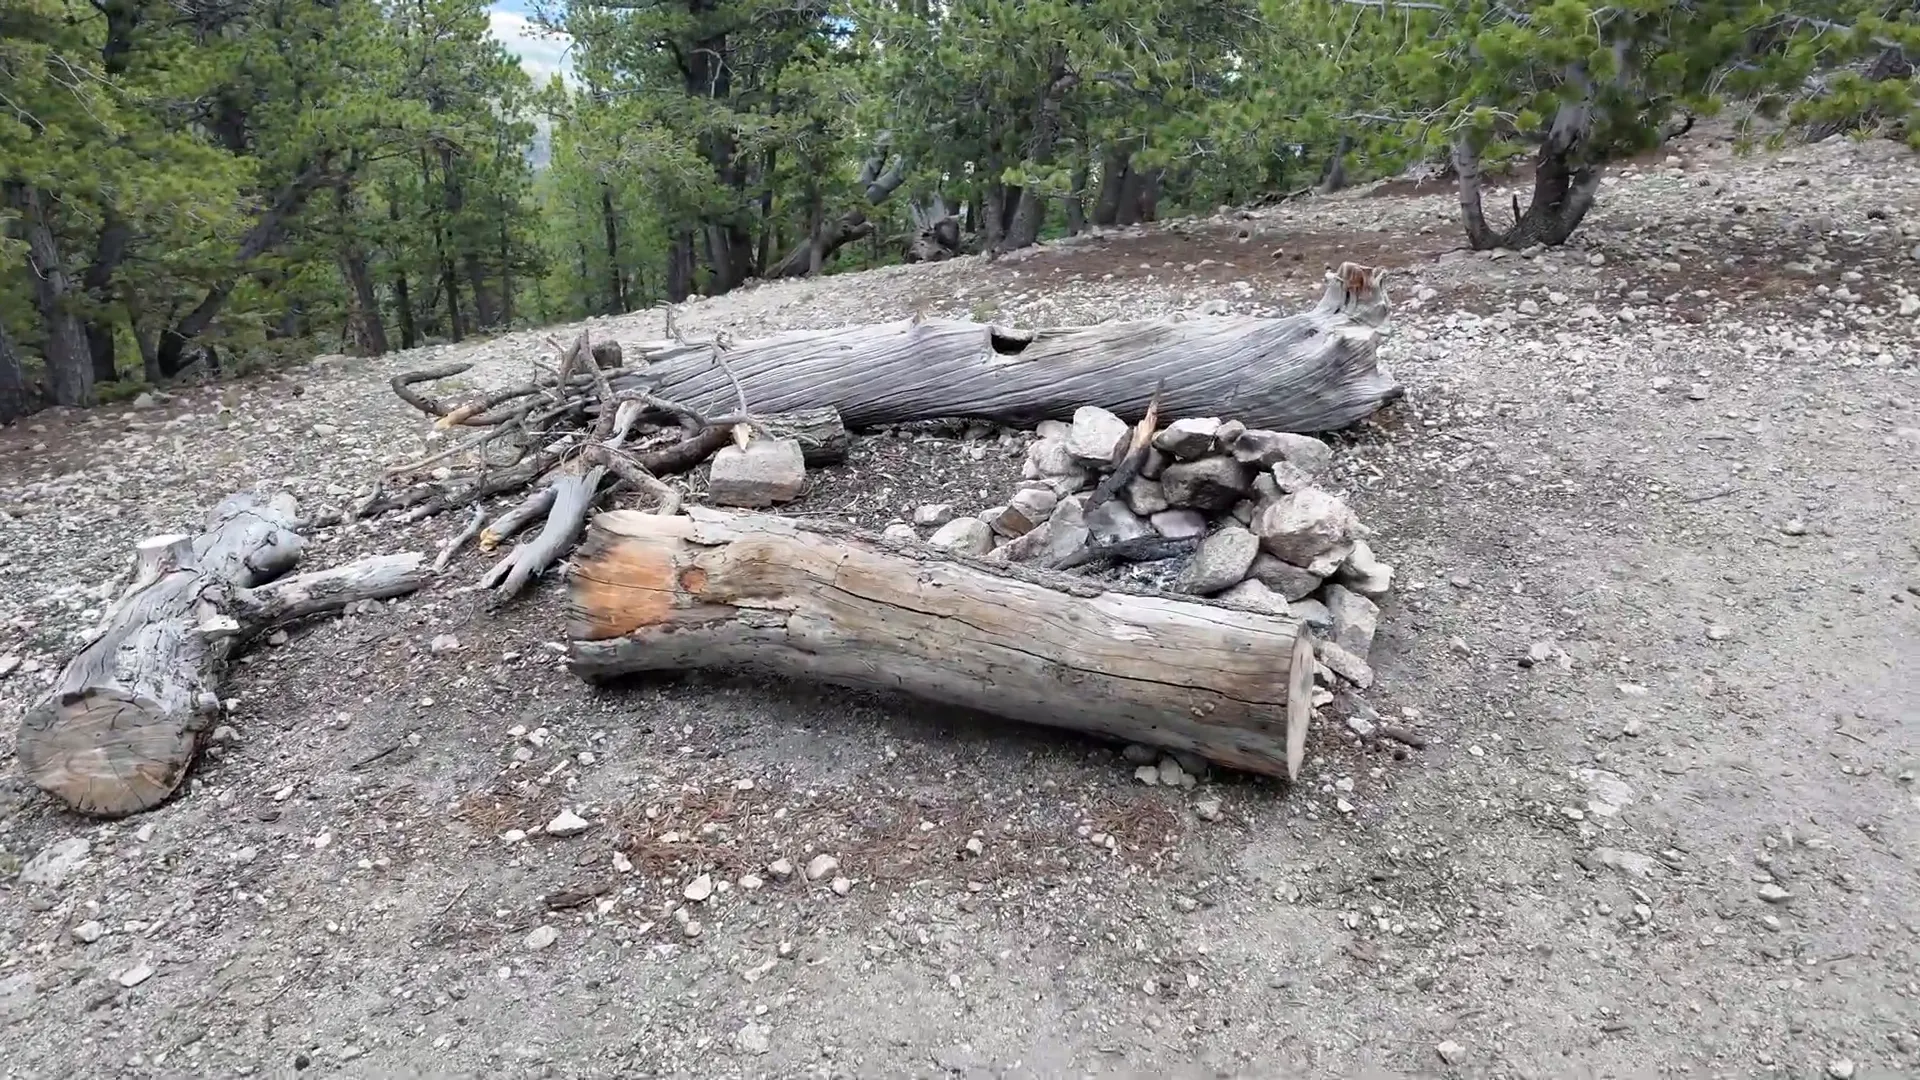
I decided to camp overnight roughly halfway up on dispersed sites. When I rolled in, I initially stopped at a spot that looked OK, but after talking with someone coming down, I pushed further up and found a much better cluster of campsites. The higher site I ended up at could fit a few vehicles and had room for three to four tents and three fire rings — much better than the more cramped lower parking areas.
What I learned about camping here:
- There are multiple dispersed sites; if you don't like the first one you see, keep an eye out for more. I’d rather drive an extra ten minutes and get a better spot.
- Higher dispersed sites are more exposed. They provide amazing views (especially at sunrise), but you’ll get less wind and weather protection. Plan for cold and wind even in summer nights.
- Use LNT (Leave No Trace) principles: pack everything out, scatter your campsite impact, and use existing fire rings where permitted. Popular fourteeners like this collect a lot of human impact.
Gear check: the stuff that mattered (and the stuff I forgot)
Gear list is a personal thing, but here are the essentials I leaned on — and the mistakes I made — so you don't repeat them:
- Trekking poles: Highly recommended for the loose scree and the final steep push. I debated them for the descent and ended up wishing I'd used them going up for extra stability.
- Footwear: Solid hiking boots or trail shoes with good grip. This hike has boulders, loose dirt, and scree. Ankle support is nice but flexibility matters on the scree.
- Layers: I wore a hoodie, multiple pants layers, and two pairs of socks at night when I realized I forgot my sleeping bag. Temperatures and wind can drop quickly at elevation, so bring a warm top and a wind shell.
- Emergency thermal blanket: I actually slept with one (not by design). It’s crinkly and not very comfortable, but it will do in a pinch. Don’t rely on it as your primary sleep system.
- Cooking: I forgot my Jetboil. I also tried an experimental "chemical" boil meal that heats with a chemical reaction, but then realized my second meal required boiling water. Plan for reliable hot water options if you want hot meals. Snacks are a great backup.
- Navigation aids: A map, GPS, or an app with offline maps helps. There are cairns, but route-finding in the scree can be confusing. I relied on cairns (rock piles) to find the route — more on route-finding below.
- First aid and Sun protection: Standard but essential. Bring sunscreen (altitude sun burns faster), a hat, and sunglasses for glare from scree and snow.
Bottom line: pack the usual fourteeners checklist and then double-check the essentials — sleeping bag, stove, and poles. I learned the "double-check" lesson the hard way.
Early morning start and the sound of groups on the move
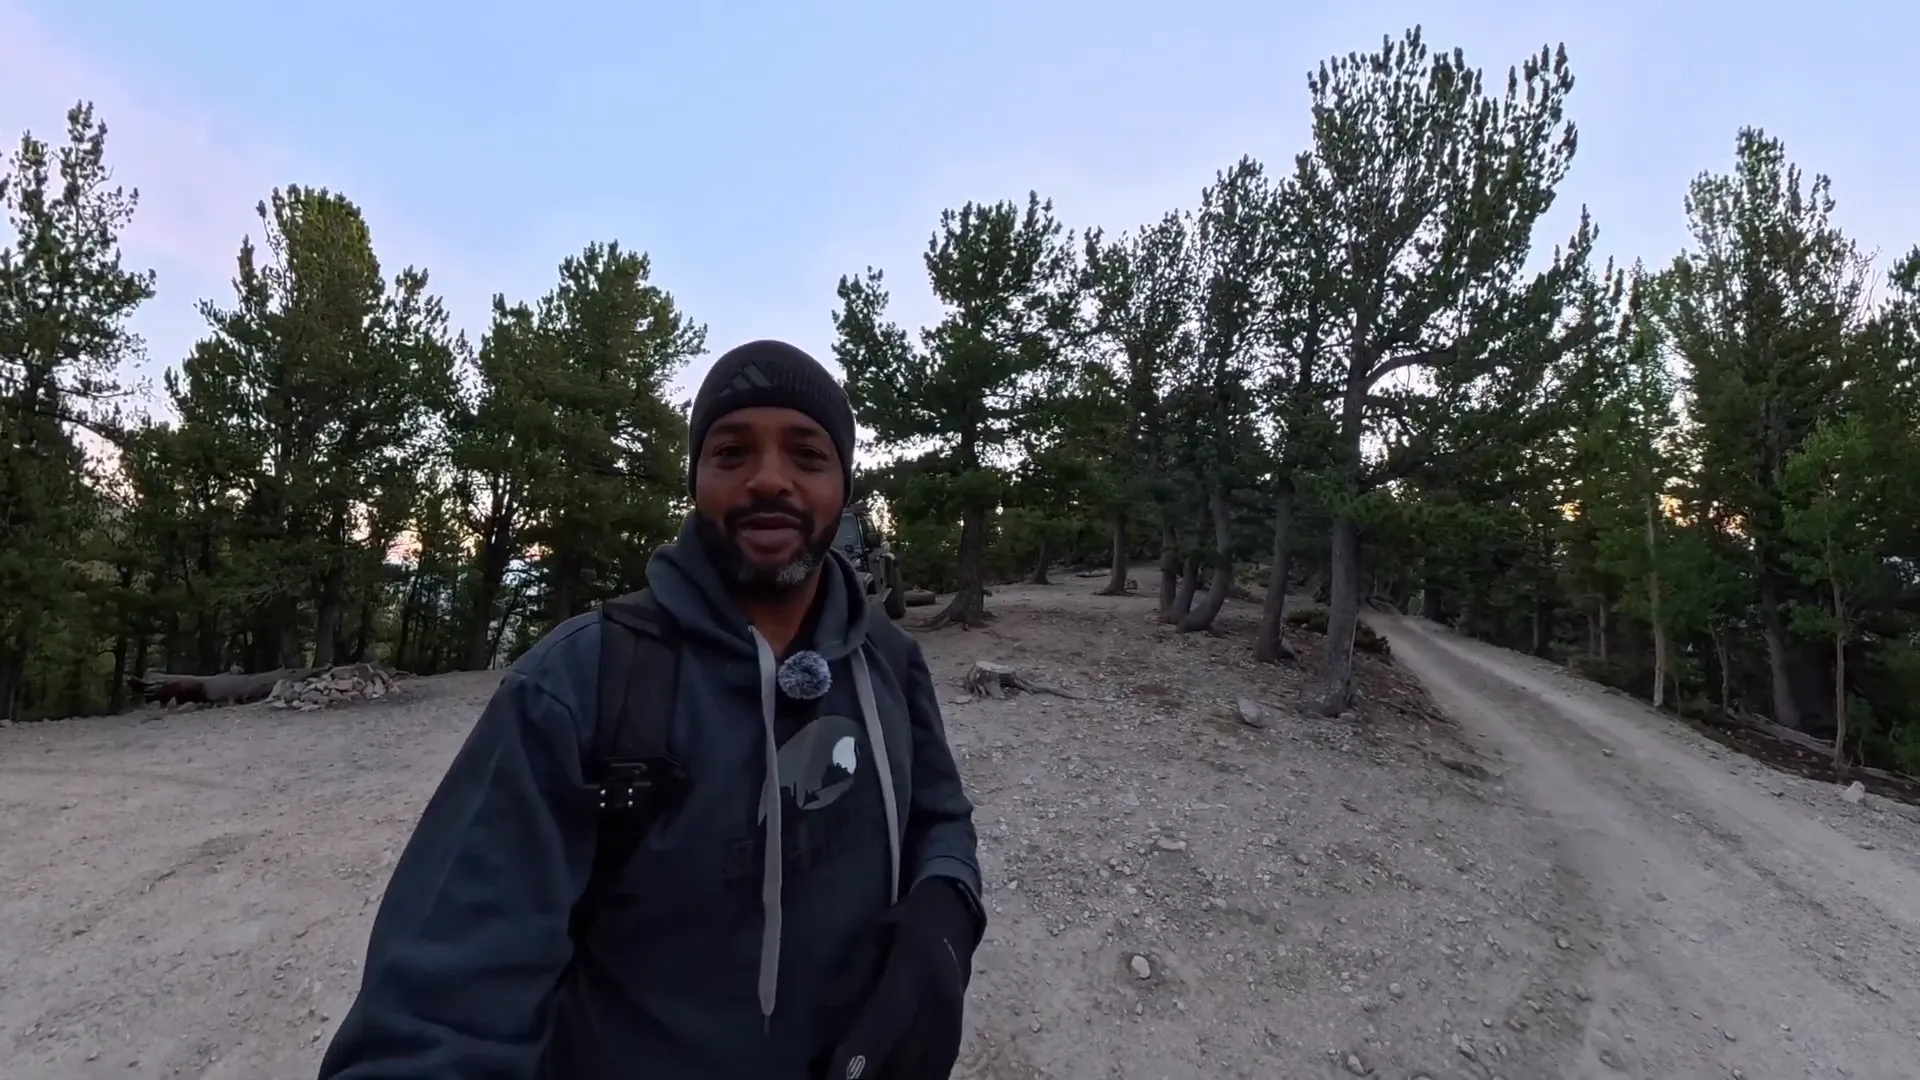
I started hiking a little after 6 a.m. and heard groups move by as early as 4:30. That’s common for popular peaks: people aim to summit early to avoid afternoon weather and to have clearer skies. The quiet at sunrise is spectacular — the valley, the calm, the changing light — it’s one of the best reasons to do an overnight and make a sunrise start.
If you're planning to summit, consider starting before or around sunrise. You'll likely have fewer hikers in the final scramble and better weather windows. But be aware: lots of parties start early, so the trail and campsites can still be busy.
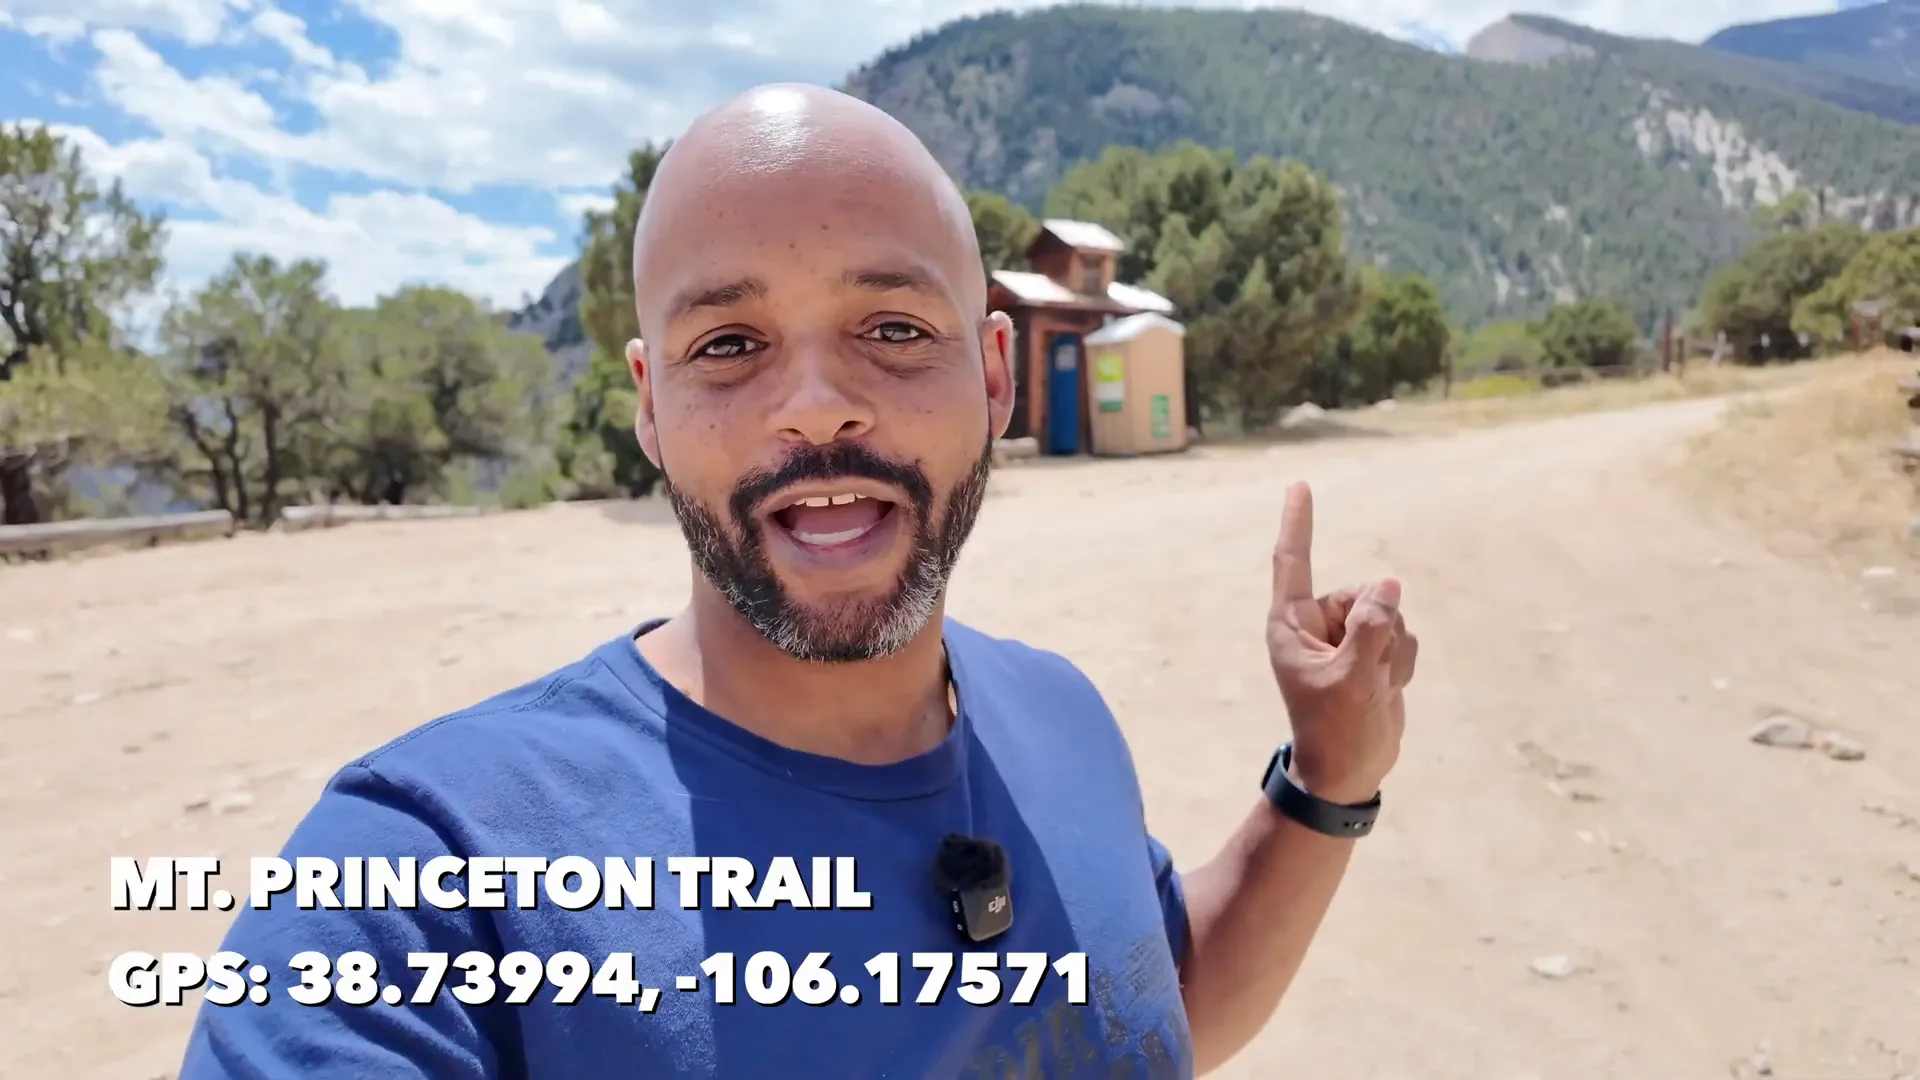
Trail beta: route, stairs, and the start of the climb
From the end of Mount Princeton Road, you’ll find the trailhead where the road drops into the trail. There are stairs initially, but be aware: the stairs you first see aren’t necessarily the ones you want. Someone told me to continue a little further up where the stairs are in better condition — and that's true. Pay attention to trail markers and obvious well-used steps to avoid early detours.
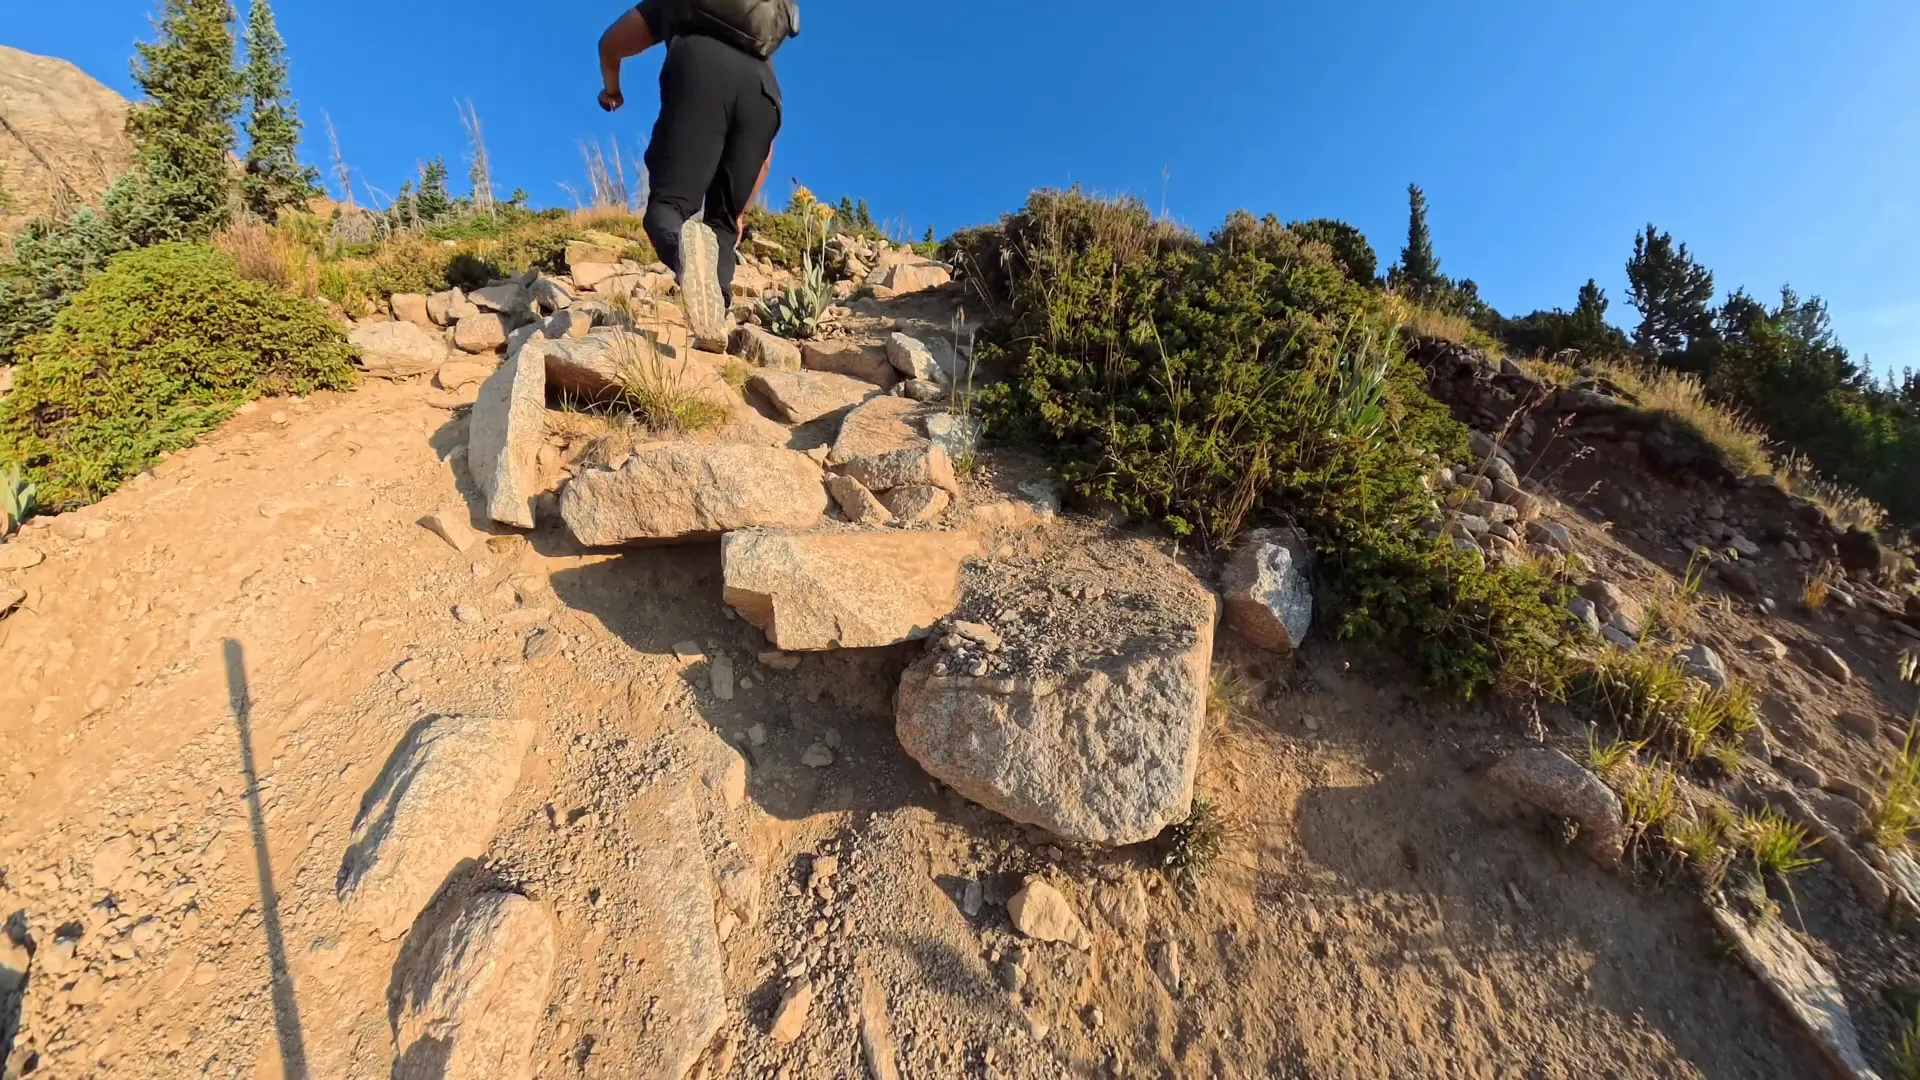
After the built steps, the trail transitions into steeper terrain and eventually into scree and boulder fields. That’s where your route-finding skills become important.
Route-finding in scree: cairns, confusion, and how to commit
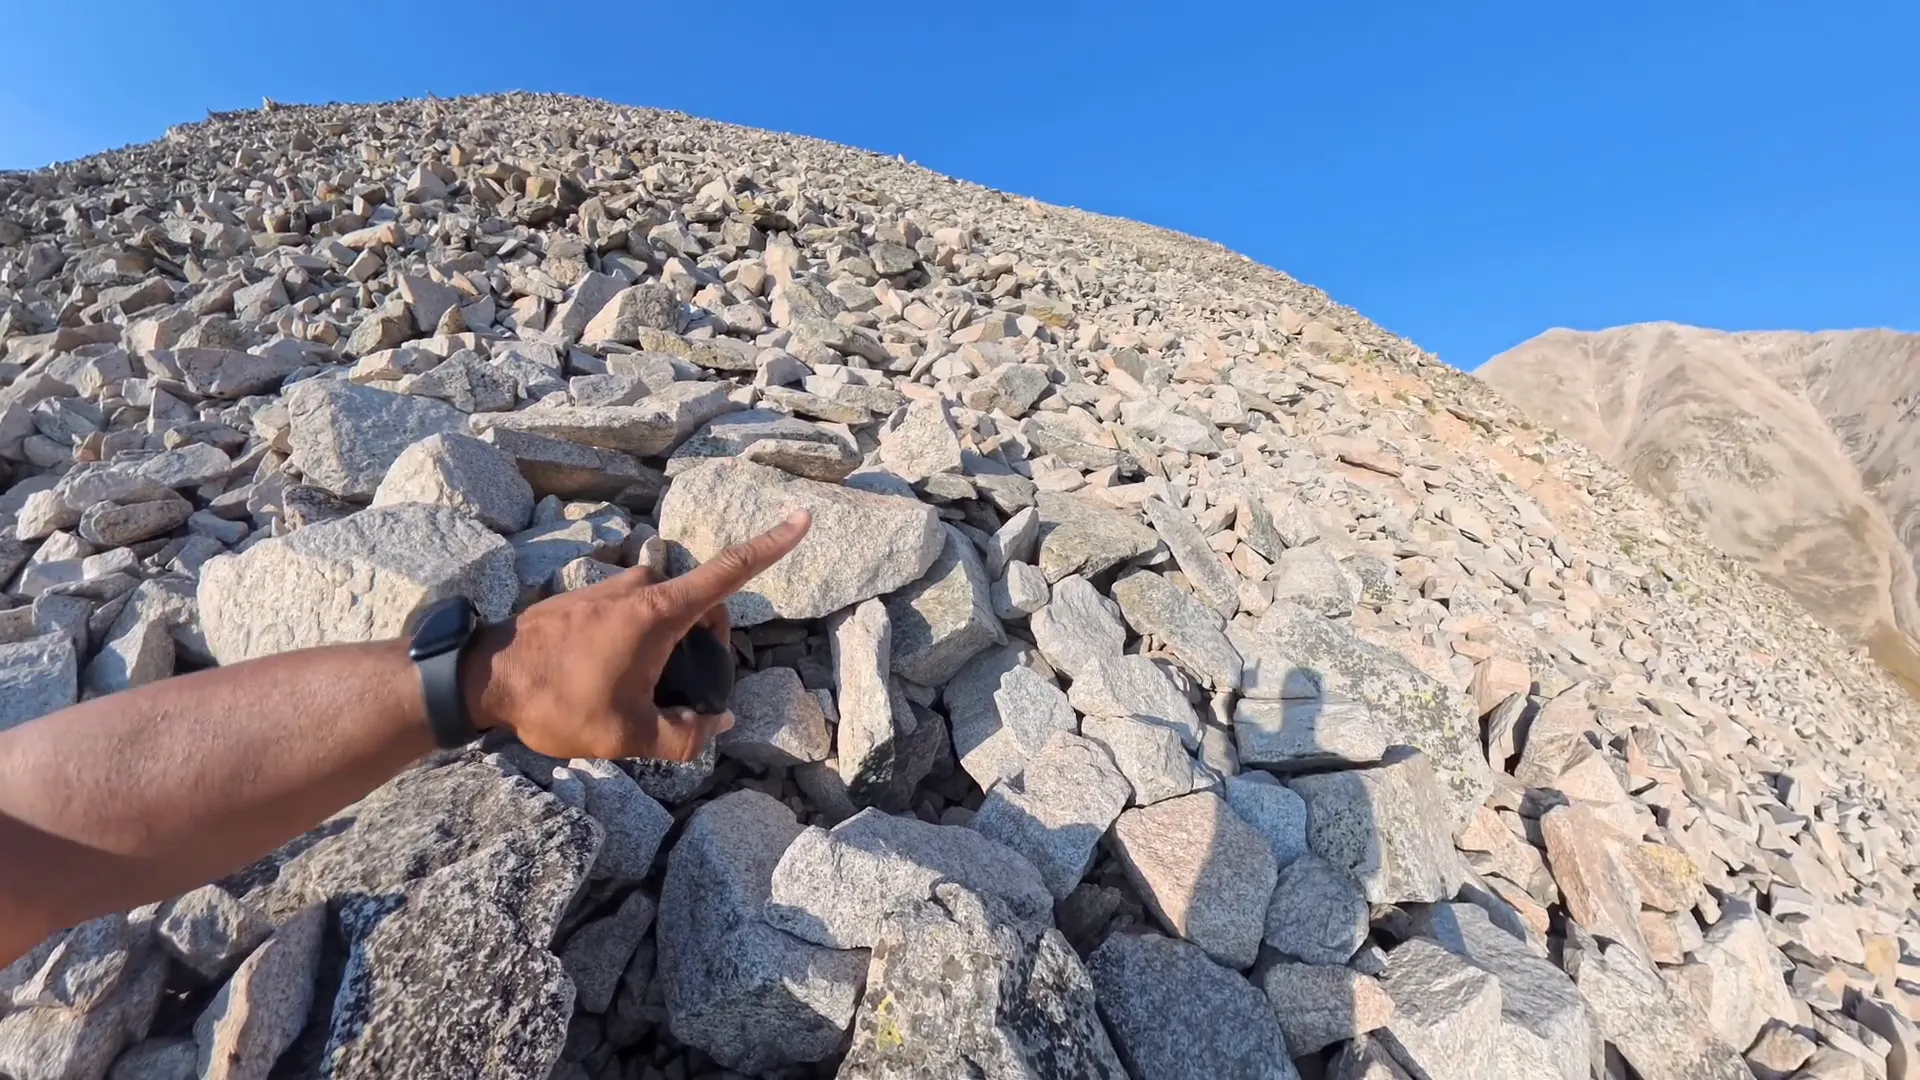
The loose scree section near the summit is the main place people get turned around. Here’s what to expect and how to approach it:
- Cairns (rock piles) mark the route but can be hard to see in loose rock. Stay focused and look for cairns rather than guessing based on wear patterns.
- Multiple faint paths can branch off — if you see a path that’s not marked by cairns, don’t assume it’s correct. Commit to a line that follows cairns or clear foot traffic.
- If you find yourself descending unexpectedly or feel like you're going off route, stop and reassess. One person I spoke with went five hundred feet down before realizing they were off-route and had to climb back up. That wasted time and energy — and at altitude, that’s significant.
- When in doubt, go up. On many ridge scrambles the easiest way to correct a bad line is to ascend to obvious high ground where cairns and lines reconverge.
Confidence matters. After a few false moves, I had to stop overthinking and commit to the line that showed footprints and cairns. It worked. Don’t be embarrassed to follow another party's line if it looks like a true route — but be cautious of following parties that themselves seem uncertain.
The ridge and the final push: steep, rocky, and a lung-burner
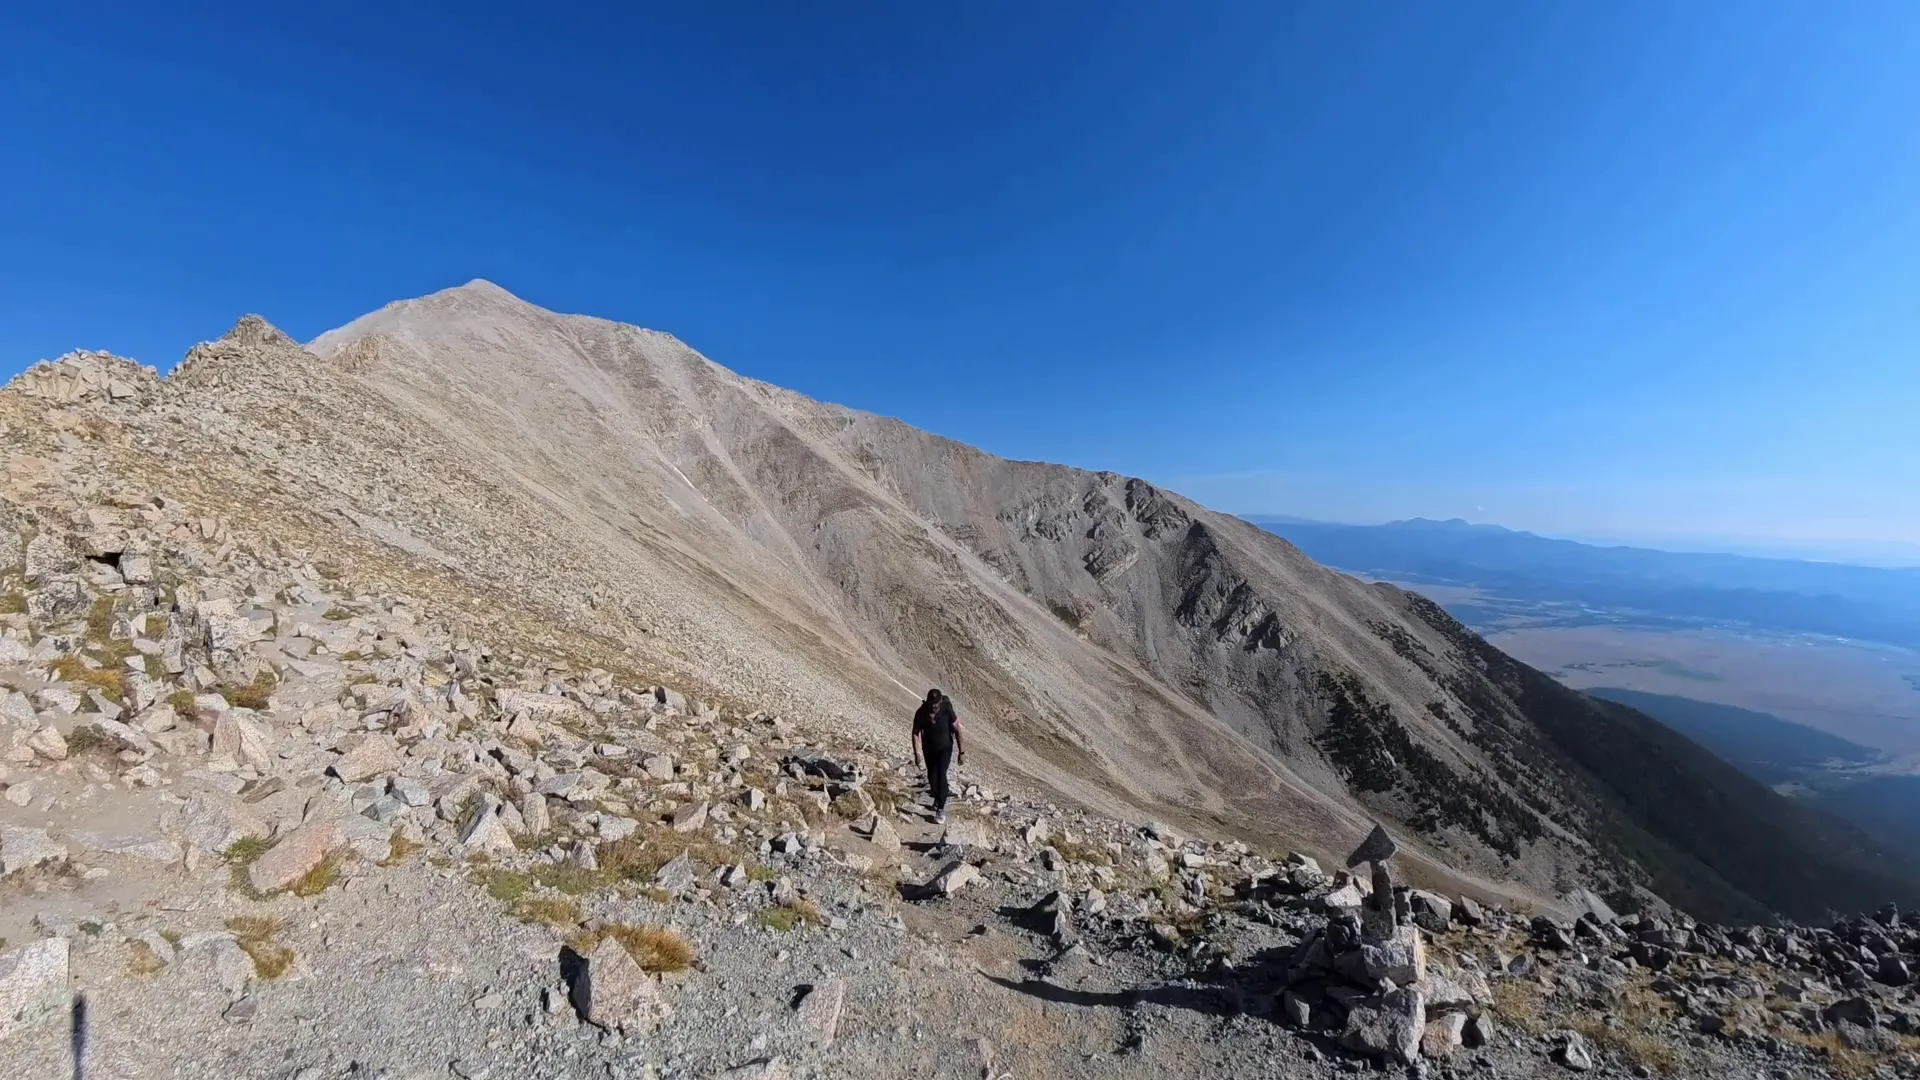
The ridge climb before the summit is steep and at times loose. Expect to feel your heart rate climb and your legs burn. Altitude plays a big role: I had to stop for short rests several times during the ridge section. That's smart — quick breathing breaks help you avoid overexertion and reduce altitude effects.
I ran into a hiker turning around because altitude was getting to him. That’s a sign to listen to your body. If you feel dizziness, nausea, or severe breathlessness, descend and recover at lower altitude. Most people who retreat feel substantially better after descending a few hundred vertical feet.
Trekking poles really shine here. They help reduce strain on knees and give stability in loose sections. I considered pulling mine out for the final push and regretted not having used them earlier. If you have poles, use them.
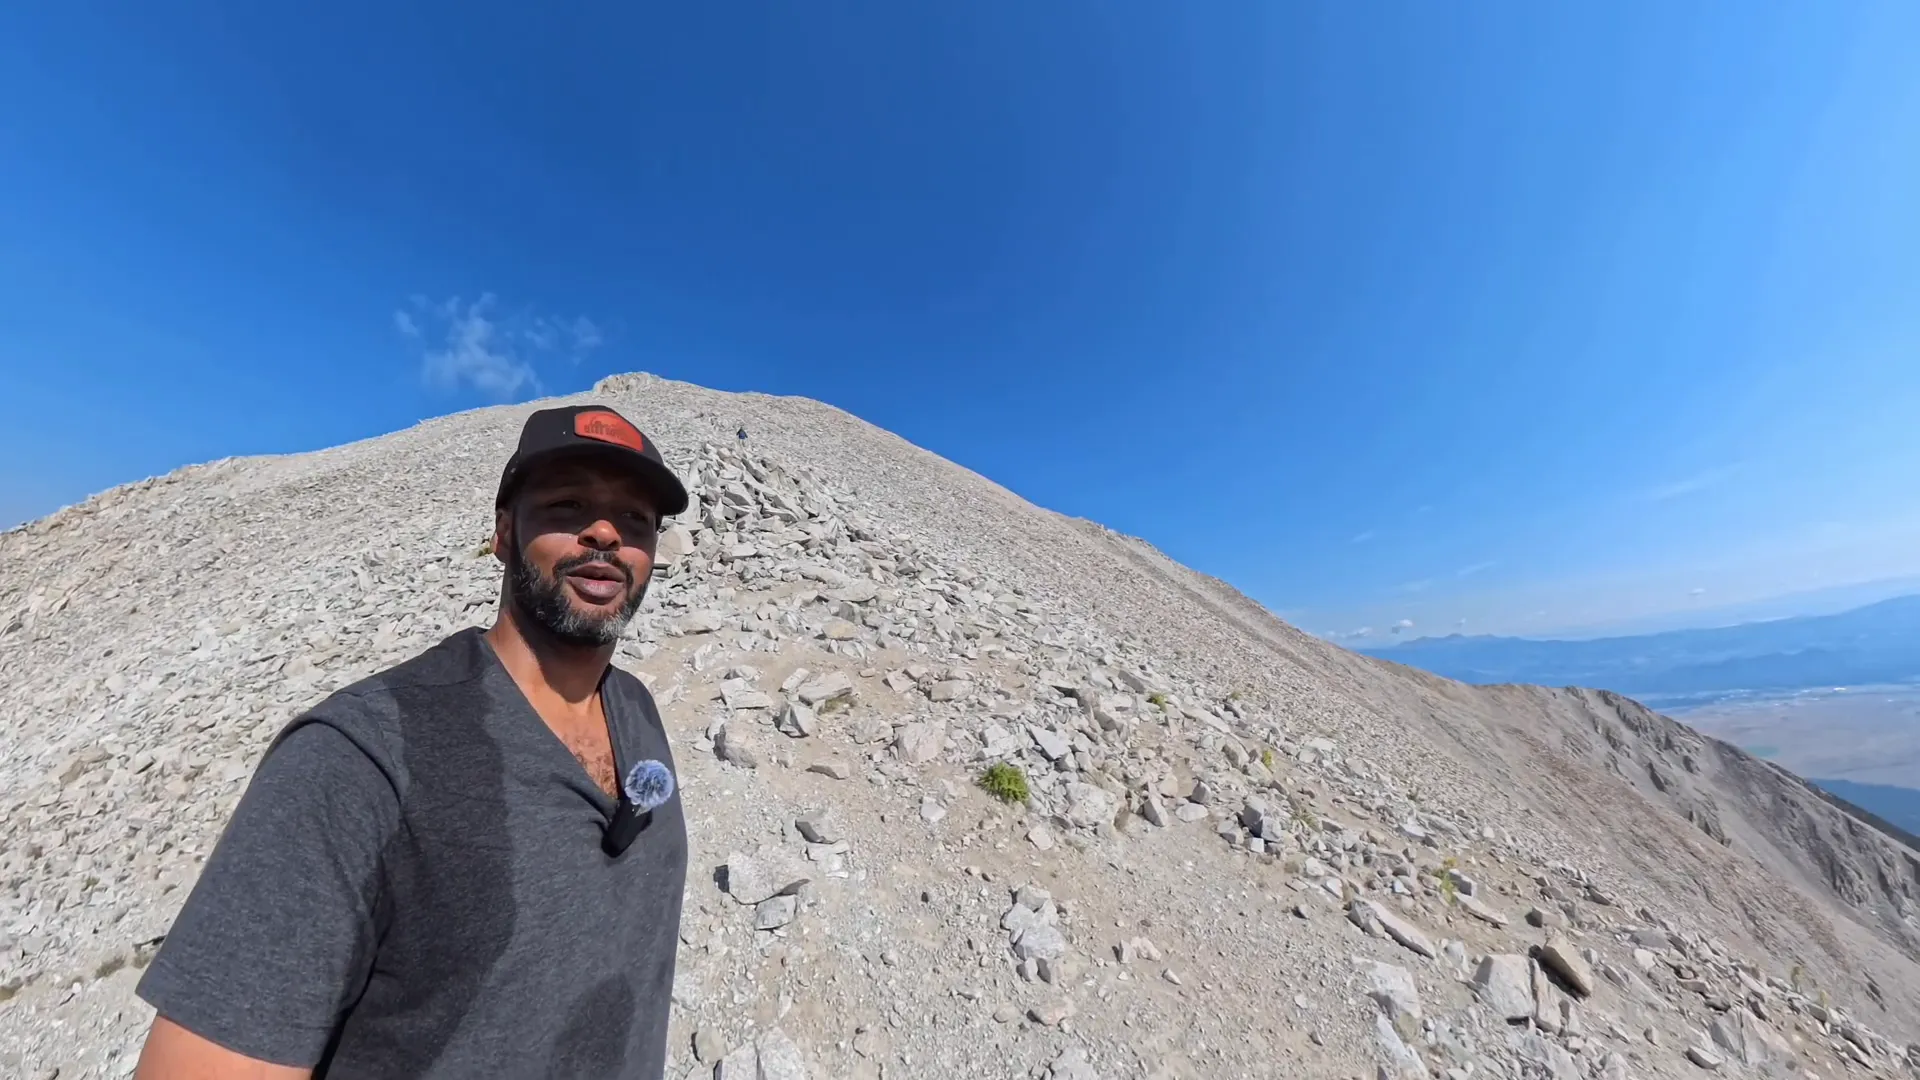
Summit moment: worth the grunt
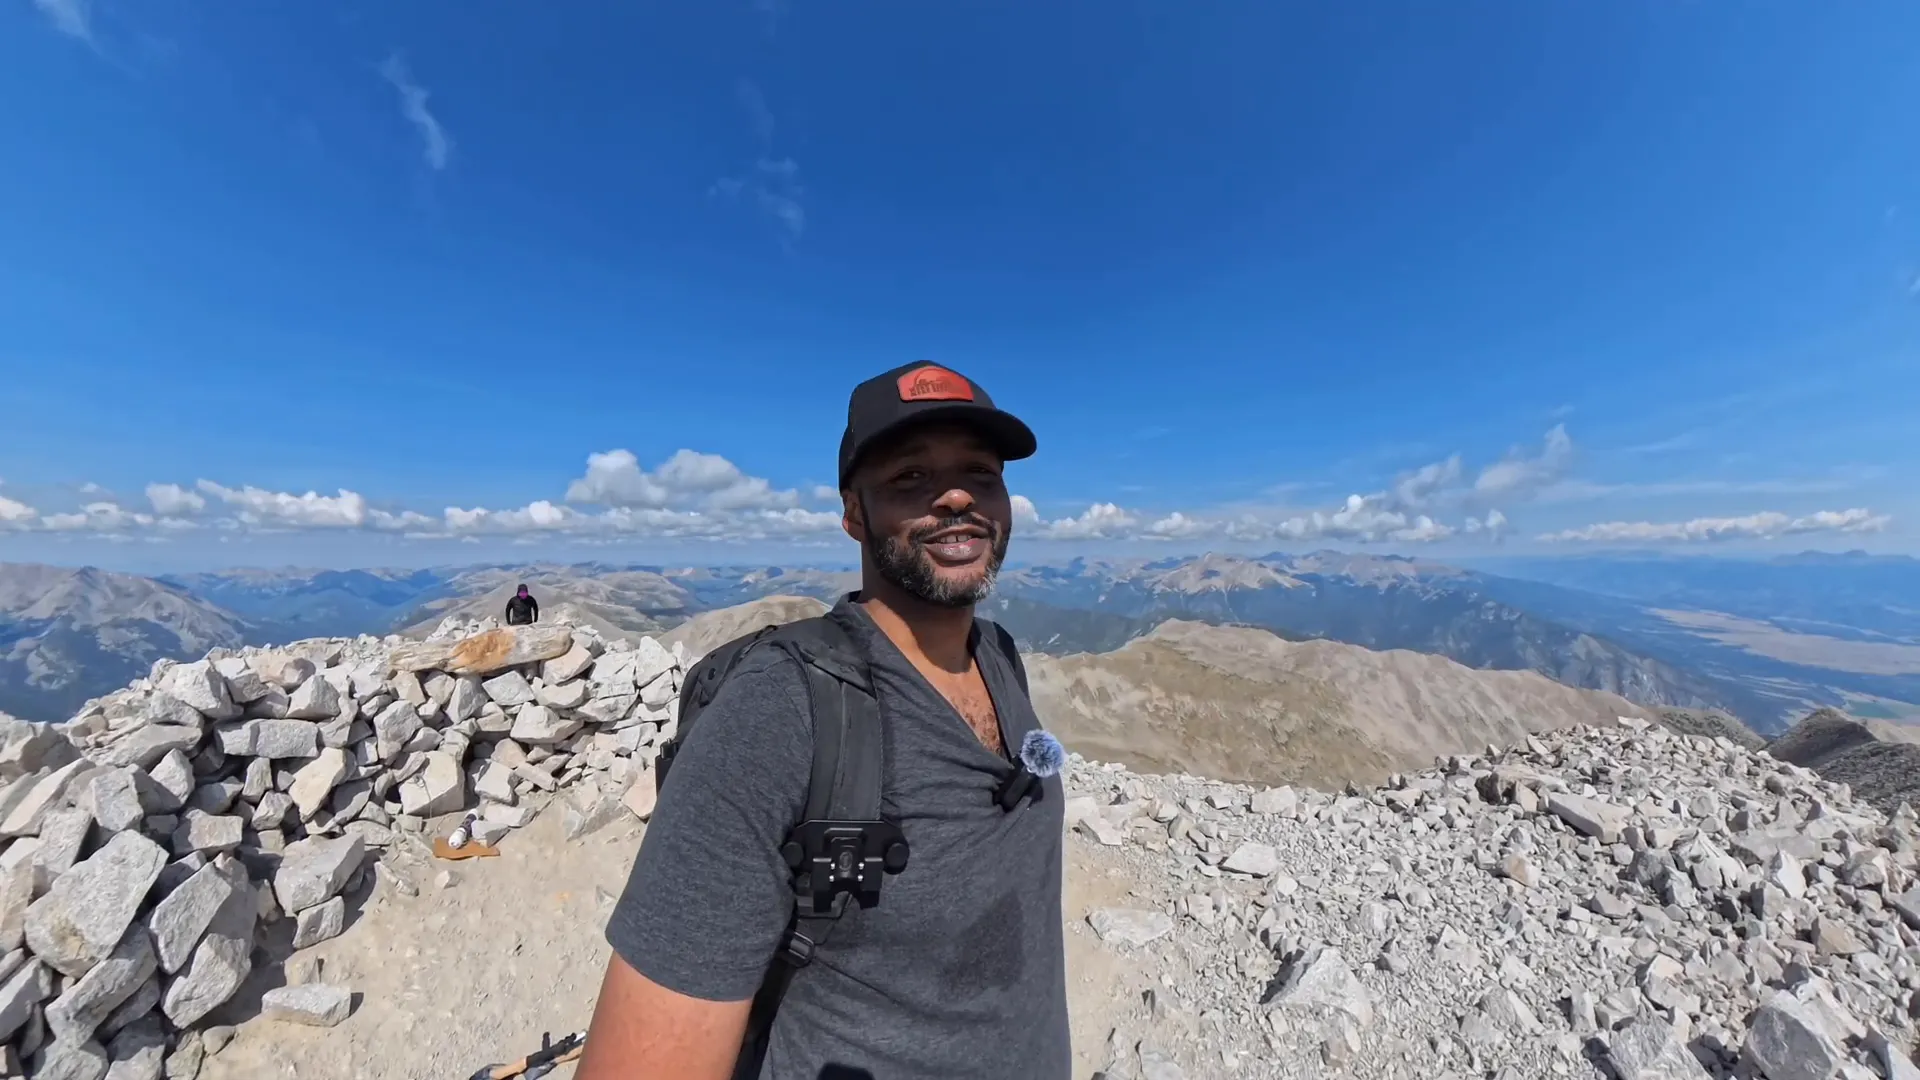
When I finally crested the top, I’ll admit: I was relieved and proud. The final climb "sucked" in the way that many honest climbs do — steep, slippery dirt and rocks, some off-route missteps — but the views and satisfaction made it worth every step. The panorama of Buena Vista and the valley is incredible, and the sense of finishing number fifteen out of fifty-eight is addictive.
On the summit, take a real break: hydrate, fuel up, and soak in the view. Don’t rush your time at the top; it’s a rare and satisfying vantage point.
Mistakes I made (so you don’t have to)
Everyone makes mistakes. I made a few that cost me comfort and energy:
- Forgetting my sleeping bag. I improvised with an emergency thermal blanket and extra layers, but it made for a poor night’s sleep and nearly cost me performance on the summit day. Double-check your sleep system.
- Underestimating the need for a reliable stove. I left my Jetboil at home and nearly had cold dinners. If hot food matters to you, verify your stove and fuel before you leave.
- Overthinking route choices in the scree. I took a few unnecessary detours by second-guessing cairns. Commit to visible cairn lines when possible.
- Not using trekking poles sooner. Poles would have made both ascent and descent cleaner and saved energy.
Tips and tactics for a smoother mt princeton 14er
From my experience, here are actionable tips to make your trip safer, faster, and more enjoyable:
- Start early. Aim for sunrise or shortly before to avoid afternoon winds and storms.
- Bring a headlamp. If you camp, you might be up before dawn. If you day-hike, an early start often means moving in low light.
- Use trekking poles. They stabilize your steps on scree and take strain off your legs.
- Follow cairns and known lines. If uncertain, pause and confirm your bearing before descending or cutting across ridges.
- Layer for wind and cold. Even on warm days, exposed ridges can be brutally windy and chilly. A wind shell and warm hat are worth carrying.
- Hydrate and fuel consistently. Altitude amplifies exertion; sipping and snacking prevent energy crashes.
- Plan for contingencies: head back if your body says so. Altitude sickness happens; descending a few hundred feet often resolves symptoms.
- Leave No Trace. Pack out what you pack in and use established fire rings where permitted.
Recommended itinerary options
Choose a plan that matches your fitness, experience, and time:
Overnight camp (recommended)
- Drive in, set up camp halfway (dispersed sites higher up are preferable).
- Get an early night, rise before dawn, and summit for sunrise. This spreads out the 5,200 feet and makes the climb less brutal.
- Pros: Less steep single-day effort, sunrise views, cooler hiking temperatures. Cons: More weight to carry and extra planning for camping gear.
Day hike (for confident, acclimated hikers)
- Start from the two-wheel-drive parking lot early (pre-dawn if possible). Expect a long day with heavy elevation gain.
- Pros: No overnight gear; quick turnaround. Cons: Physically demanding and long hours at elevation.
FAQ
Q: How hard is mt princeton 14er?
A: It's a moderately difficult fourteeners route. The road to the trailhead is narrow but manageable for stock vehicles. The route features steep ridges, loose scree, and a sustained elevation gain. If you're in good condition, used to elevation, and comfortable with scrambling and route-finding, you can do it. Consider camping halfway to reduce day load.
Q: What is the total elevation gain and distance?
A: From the two-wheel-drive lot expect just over 13 miles round trip and about 5,200 feet of gain. From the dispersed campsite halfway up it's about 6.5 miles round trip and ~3,200 feet of gain.
Q: Can I drive all the way up Mount Princeton Road?
A: Most of the road is drivable by stock vehicles, but there are narrow exposed sections and ruts. Exercise caution and be prepared to back up into pullouts to pass. Some people choose to hike the road rather than drive it.
Q: Are there campsites on the road?
A: Yes. There are dispersed campsites approximately halfway up the road and a cluster of spots nearer the end of Princeton Road. Some are exposed with no tree cover, so expect wind and cooler temps at night.
Q: How do I find the route in the scree?
A: Look for cairns and the faint boot paths that they follow. If it gets confusing, commit to the line that follows cairns. If you’re really unsure, head upward to higher ground where the route usually becomes clearer.
Q: What should I do about altitude sickness?
A: Pay attention to symptoms. If you feel lightheaded, nauseous, or experience severe shortness of breath, descend immediately. Many people feel better after dropping a few hundred feet. Acclimate beforehand if possible, hydrate, and ascend conservatively.
Final thoughts — why mt princeton 14er is worth it
Mt Princeton is a classic: dramatic ridge lines, rewarding vistas, and that mix of road-and-trail access that makes it accessible yet still challenging. Yes, the road is nerve-wracking in spots, and the scree can confuse the best navigators, but summiting this peak is genuinely satisfying.
Do your prep: pack important gear, double-check your stove and sleep system, and bring trekking poles. Respect the road and other drivers, commit to cairns on the scramble, and don’t hesitate to turn back if altitude knocks you down. Those simple decisions keep you safe and put you in the right place mentally to enjoy the summit.
If you're planning to tag mt princeton 14er this season, I hope my experience and the beta in this post make your outing smoother. It’s one of those peaks where a little planning pays big dividends — and the views at the top repay every bit of effort.
Good luck out there, and maybe I’ll see you on the trail — I’ve got another 43 to go, and every summit teaches me something new.